By Chris Violette
The Third In A Four Part Series
Mistakes 4 & 3
I’ve been looking forward to sharing the final four mistakes in this series because I think they can be the difference between headshots that disappear into the crowd and professional, first class portraits that get you noticed and called in to audition.
The two points covered here are easily overlooked. Once you’re aware of them, however, you may never look at headshots the same way again. You’re about to up the ante on your awareness of what makes most headshots look so common and what you can do during a photo shoot to dramatically increase the odds of leaving with great results.
Mistake 4. Allowing for The Same Lighting Setup for Each Look
Regardless of a photo’s background, your wardrobe, hairstyle, makeup, or the energy you bring to a frame, if each picture you have taken is lit the same way they will all look the same.
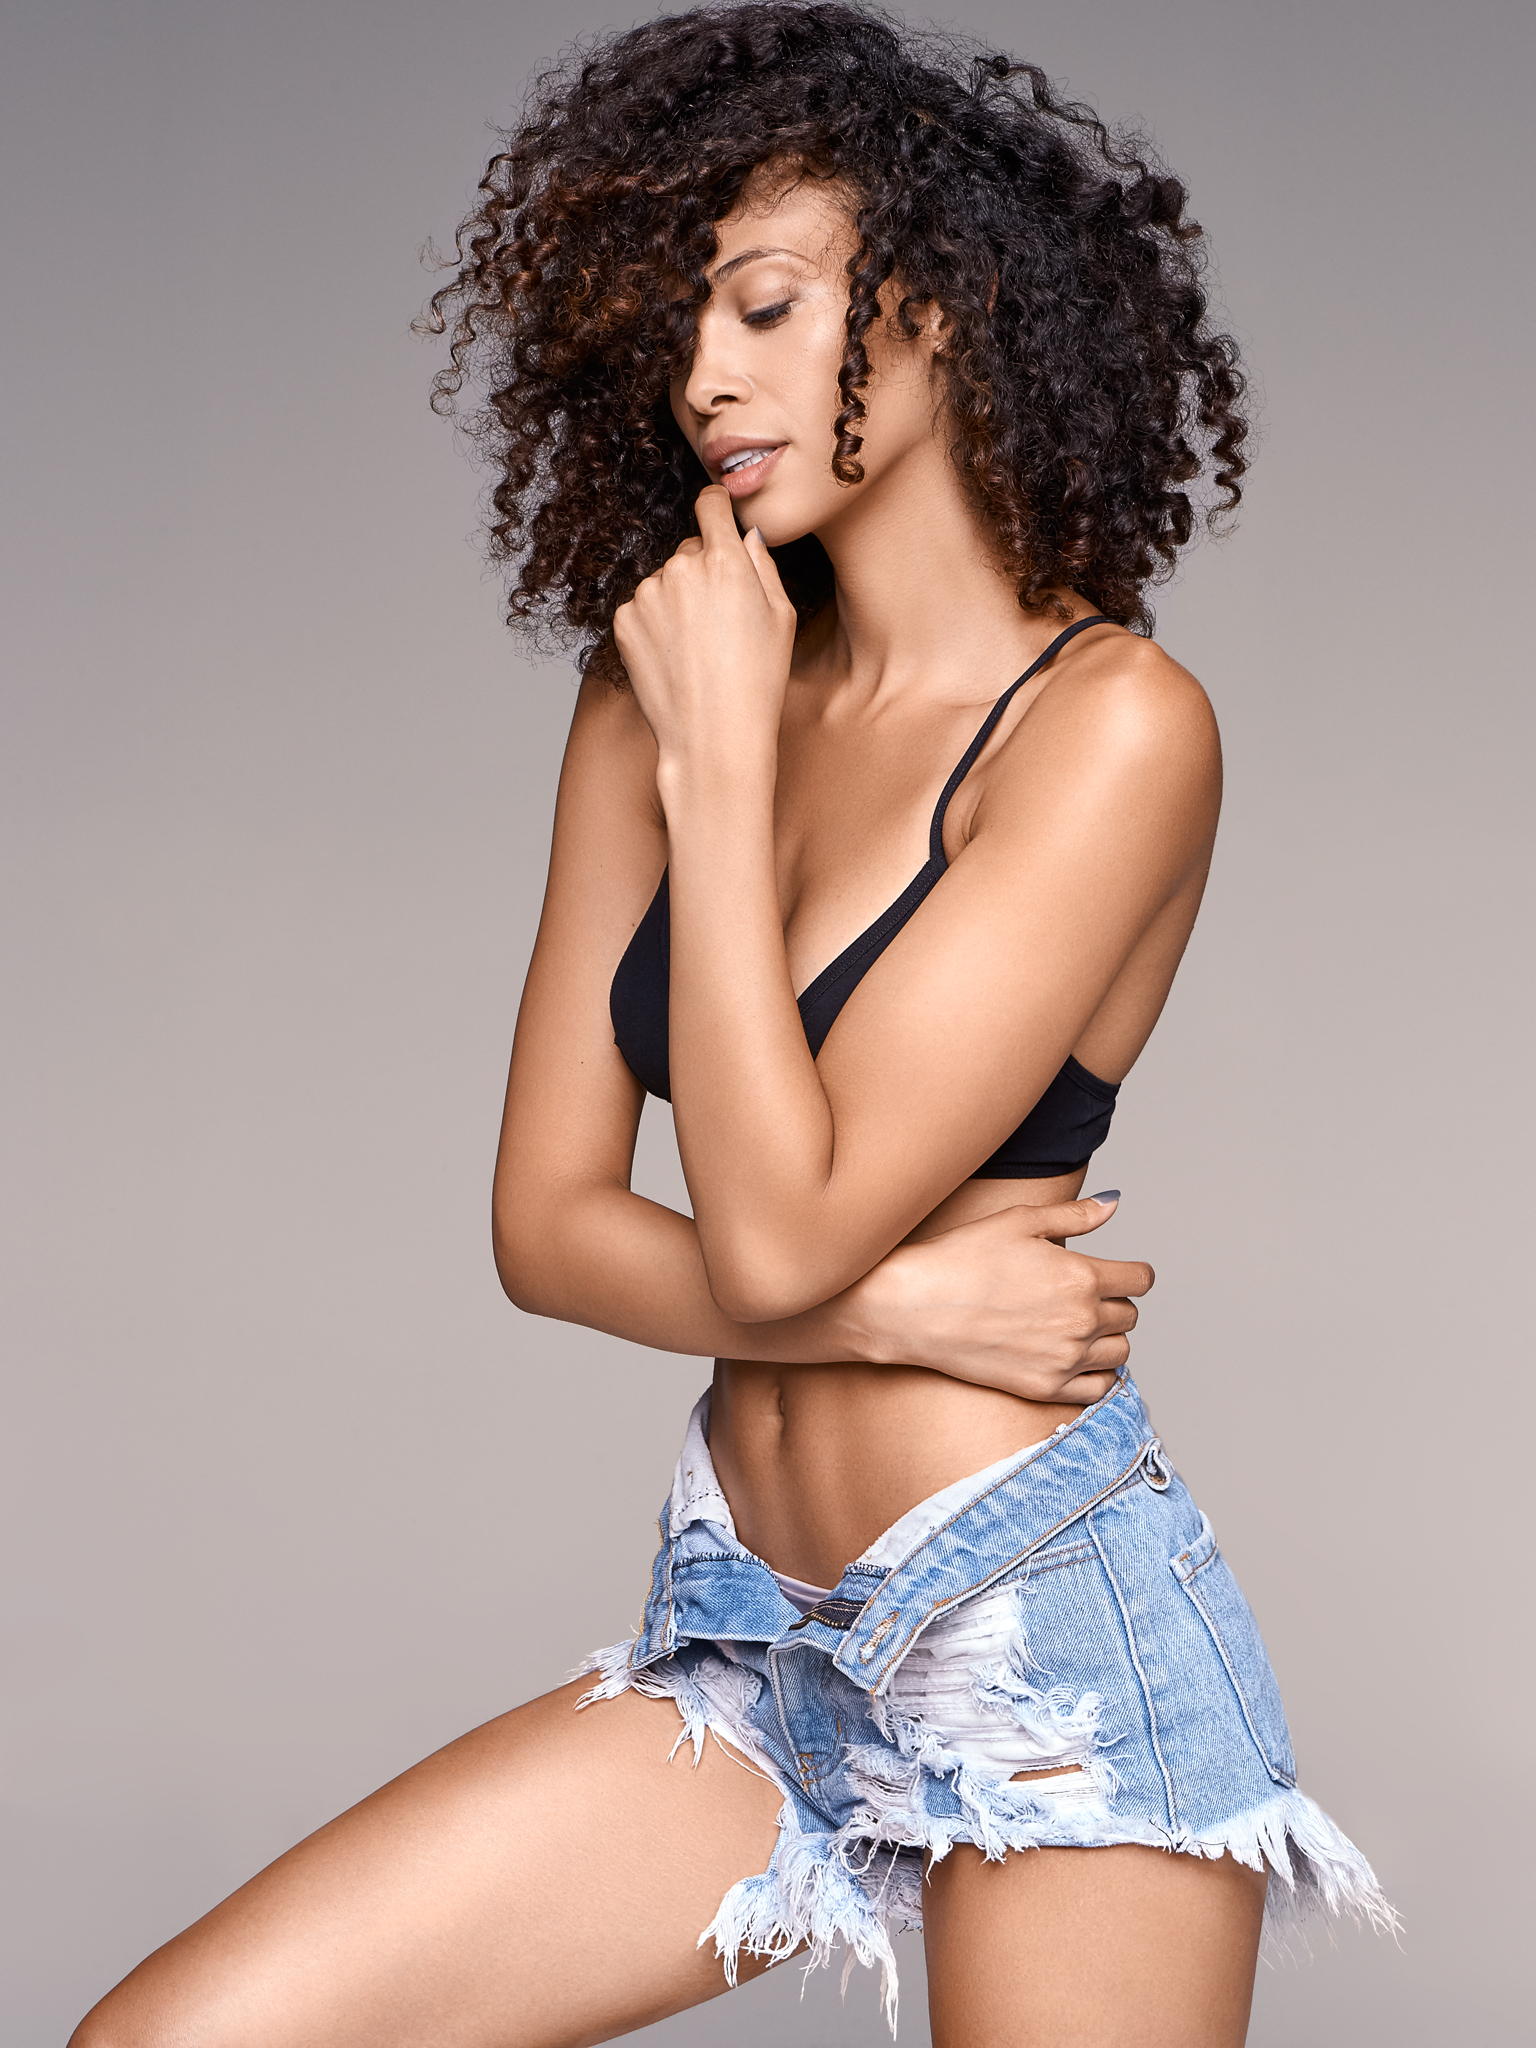
The result will be images that fail to best compliment you and fully represent the diverse sides of who you are. As a whole, your portfolio of pictures will be anything but dynamic. Should a picture of an actor in a bright, positive state be lit the same way as a photo of the same actor with an intense look in her eyes? Think about the various times of day and the way light affects how you feel. Does the street you live on look the same at dawn as it does at noon or sunset? The quality and shape of light has an enormous effect on how we feel and perceive things.
Perhaps you have had a shoot in a photographer’s studio where the mark for you to sit or stand never changes. The photographer stands in front of you with a very large light source directly behind him. Behind you is a moveable backdrop or background. You have a number of pictures taken then the photographer changes the background and snaps away again. Perhaps he does this two or three times before you retreat to the dressing room to change into your second look, alter your hair, touch-up your makeup, etc.. While you’re doing this the photographer swaps out the previous background for a new one but the lighting remains the same. You may as well have had your pictures taken in a supermarket.
While this particular lighting setup is mostly appropriate for groups of people, it is nonetheless very common in studio shoots for headshots. The traditional thinking is that the larger the light source in proximity to the subject, the softer the light; and when the light is directly in front of the subject there will be no shadows. There are many problems with this setup, however common.
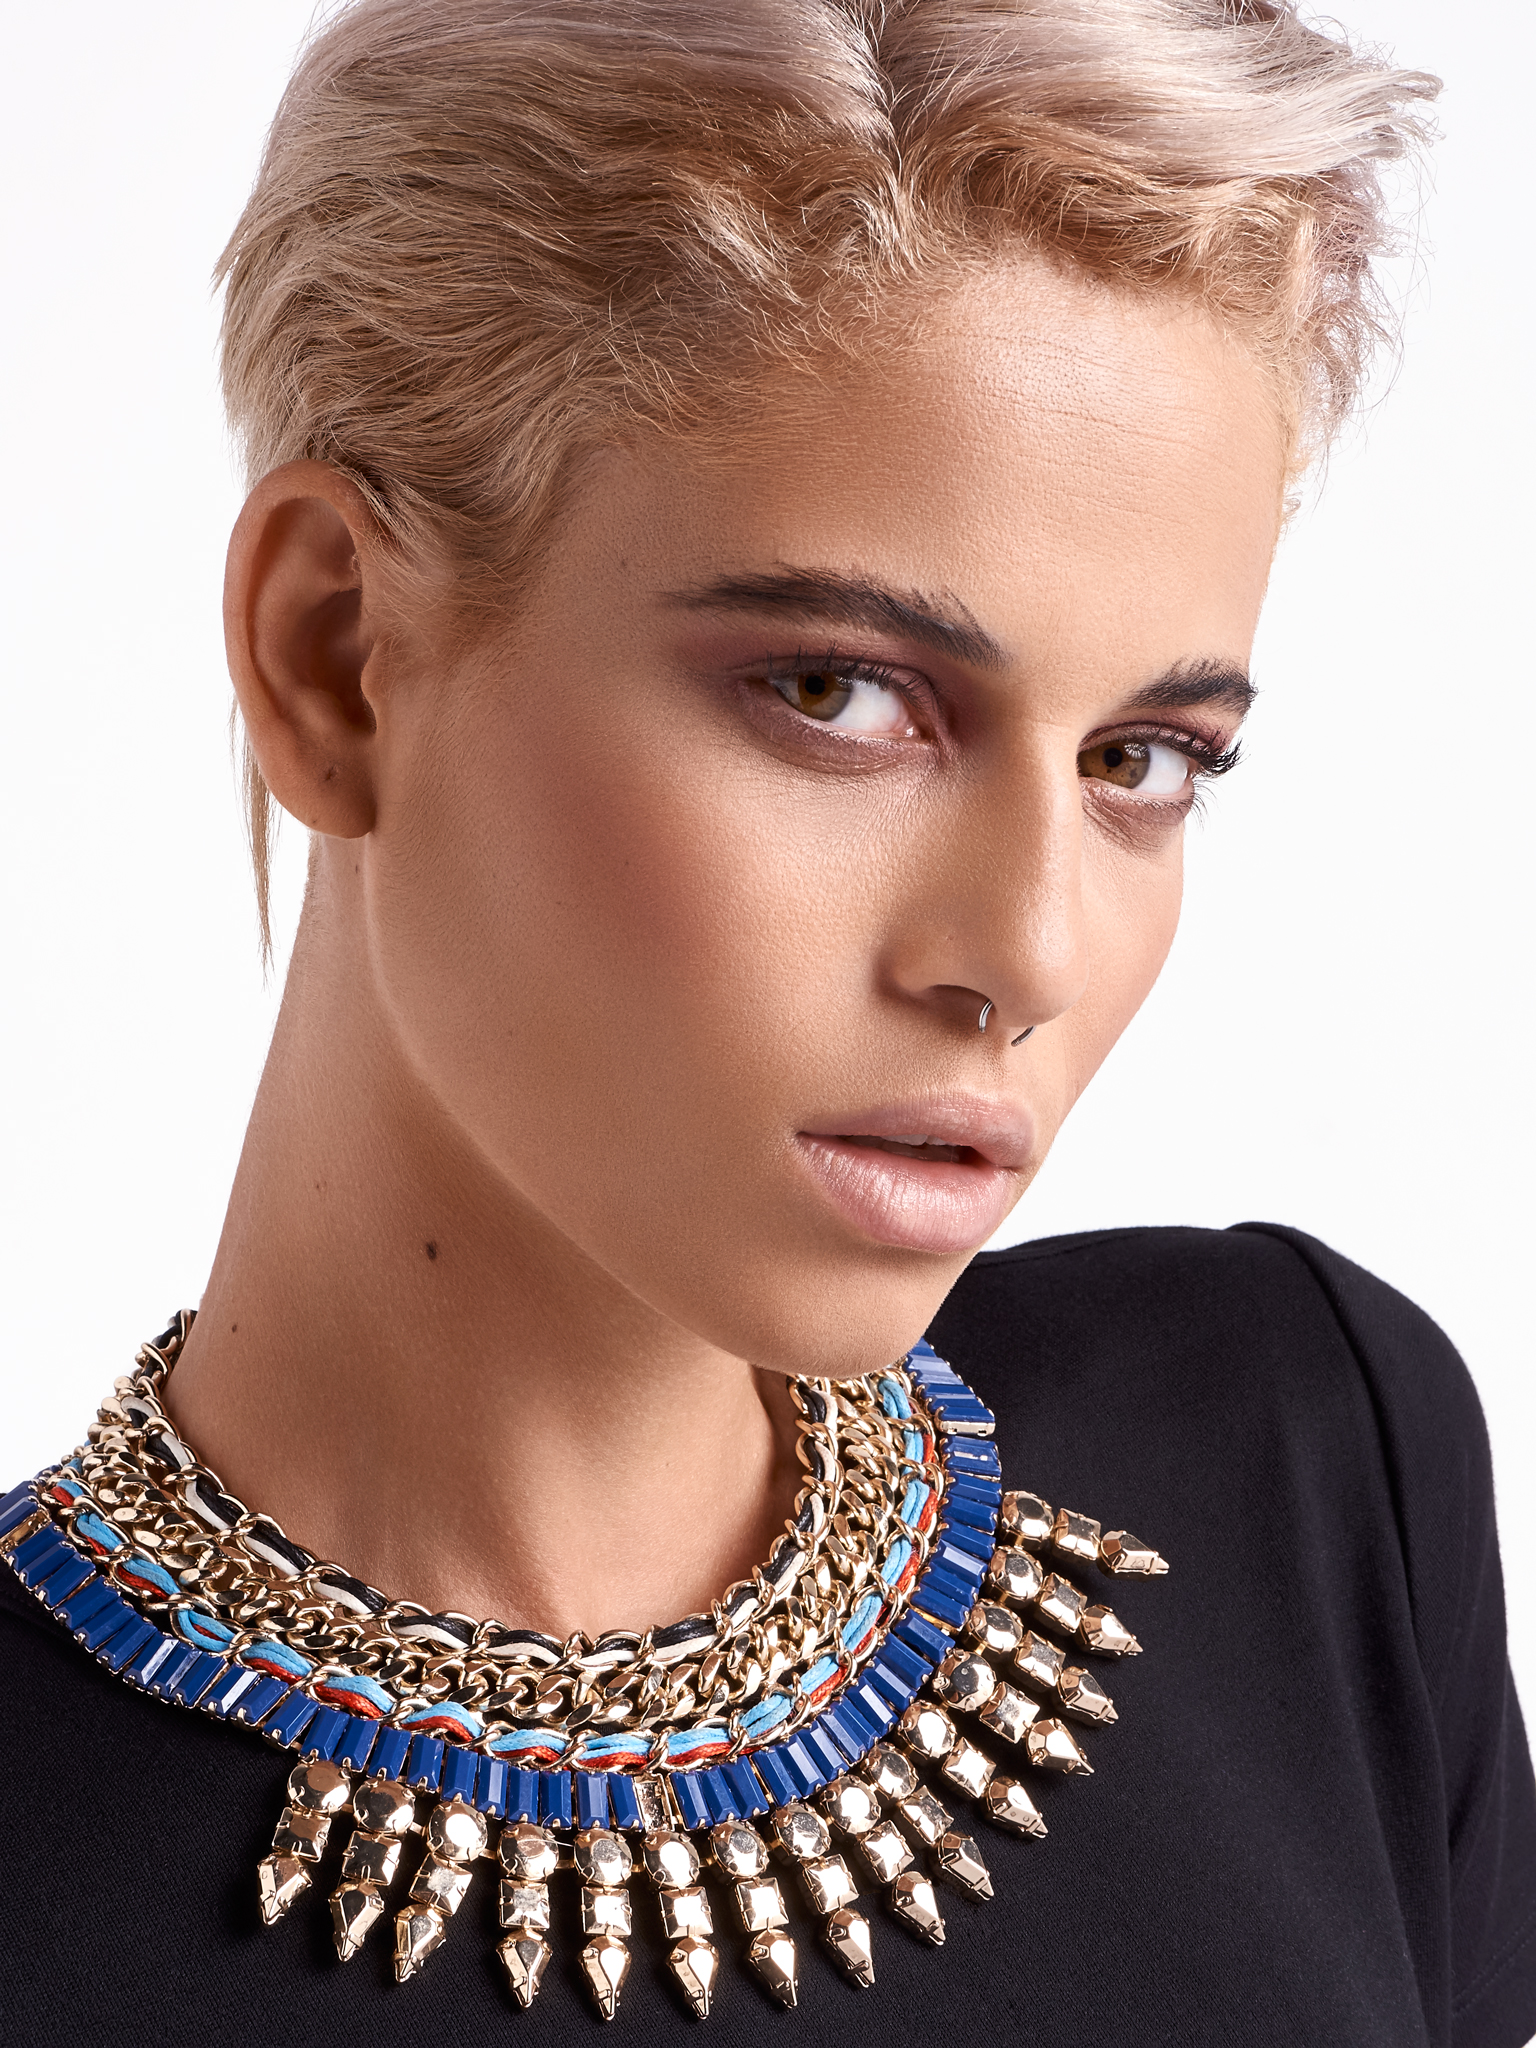
First, pictures with a large light source directly in front of the subject (and behind the photographer) are typically very flat, casting no shadows on the face whatsoever. This often makes for incredibly cliche, one dimensional photographs. Shadows are a part of life. They compliment the face, enhance cheek bones, draw the viewer’s eye to the subject’s eyes. Shadows can add drama, highlight features, hide others, and generally give the picture depth. Flat lighting, while perhaps appropriate for some pictures, is dull when used on every picture.
This lighting setup, or any lighting that is used as a ‘one size fits all’ solution, also fails to take into account the shape of the person’s face and figure. Lighting that favors an angular face may detract from one that is rounder, and vice versa. A light source that favors young healthy skin will make another person look older and highlight imperfections. A thoughtful photographer will consider the subject and light specifically for that person.
Another downside of letting a photographer use the same lighting setup for all of your pictures is that he likely photographs everyone the same way. So, not only will all of your own pictures look alike but they will also look like the pictures of every other actor who has stood or sat on the same mark. When things all look the same the eye naturally looks for the one that is different. Consequently, the searching eye pans over your pictures with barely a notice.
So why do photographers use the same lighting, then, for each setup with each person? Good question. Certainly one of the reasons is that they may not expect you to understand the difference. Since it is less work for the photographer to not have to move lights around, they may not be eager for you to know the difference. It can also be the result of conservative taste or a lack of imagination. Lastly, it may also be the result of shortcomings in the photographer’s technical proficiency with light and light-shaping.
What’s an actor to do? You might start with hiring a photographer whose work already demonstrates variety with lighting. That way you don’t have to worry about a potentially awkward conversation during your shoot. You could also avoid such a conversation by talking with the photographer ahead of time and seeing how they feel about creating variety in your shoot with lights. It doesn’t take much to dynamically change the way light affects things. A few feet closer from you or further away, slightly raising or lowering the main light, changing its size, or moving it slightly toward one side or the other, can all create subtle to dramatic differences in the resulting pictures.
If you’re having your headshots taken outdoors with available light, a conversation with your photographer ahead of time is even more important. There are a number of readily available, inexpensive tools a photographer can use to alter and shape the quality of light outside. Ask your photographer how he or she plans to make sure there is variety in the lighting in your pictures.
You don’t have to become an expert on light in photography to help yourself. A couple of pointed questions ahead of time may be just enough to either establish your expectations and keep your photographer on his toes, or help you avoid wasting your money by moving on to a better photographer for you.
One last note about the above referenced lighting setup where the photographer shoots you with a large, main light source right behind him. That light source will cast the photographer’s silhouette into your eyes. If you zoom in on the resulting picture the photographer’s distinct shape will be plainly reflected in your own eyes. The photographer is aware of this and likely takes a bit of secret narcissistic pleasure in knowing that his picture of you is also a picture of himself – a stealthy selfie – taken on your dime, on your time. If that seems gross to you, good.
Mistake 3. Not Using The Tools That Work for You As An Actor In Your Photo Shoot
The tools that work for you on stage or screen will also work for you in a photo shoot. Brilliantly. Trust them.
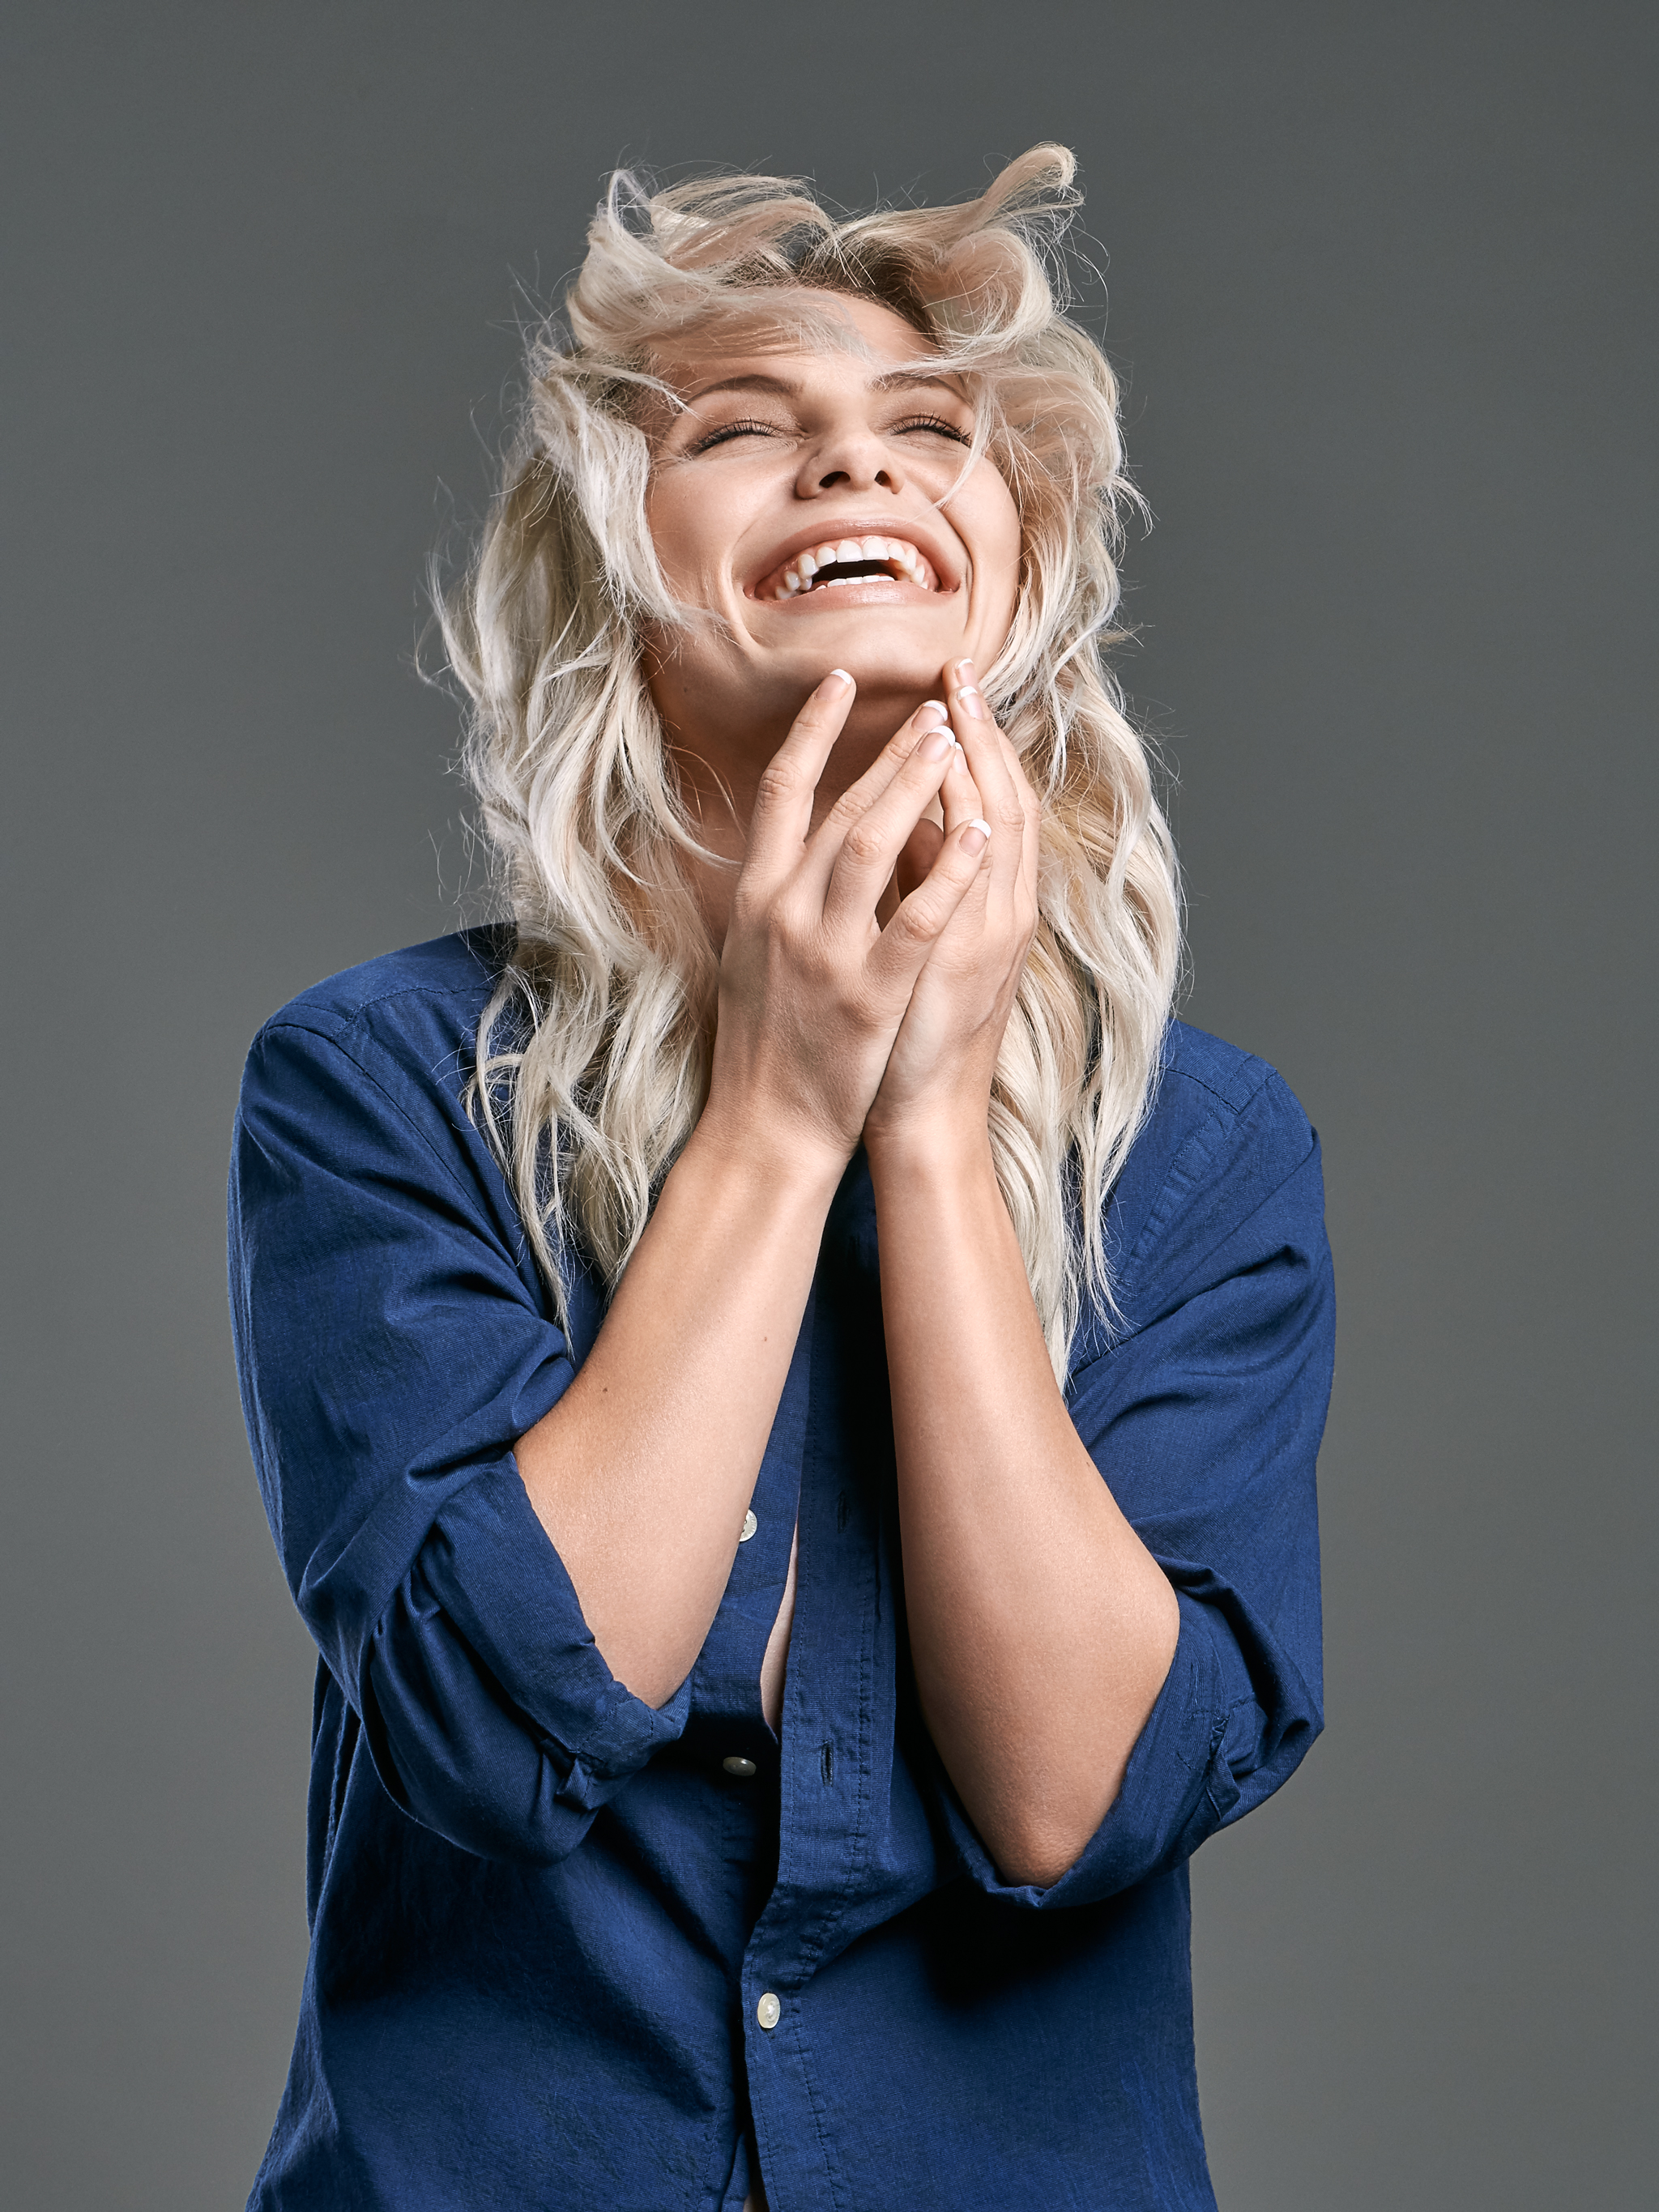
One element common to great pictures of people is a person who is authentically stated. Be it joy, fear, sadness, anger, surprise, or disgust, when the state is real it travels through the eyes and makes for a traffic-stopping photograph. Coincidentally, actors – trained actors – regularly use various methods of acting that result in one being stated. Yet, the actor often arrives at a photo shoot thinking they have to be something else now, they have to pose, be a model, satisfy a type, show their better side, suck in their stomach. This only ends up in stale if not awkward, sterile, lifeless pictures that reveal nothing about the person. Think of a photo shoot as just another stage for you to express yourself on.
You likely already have the tools – tools that models would kill for – to make your pictures remarkable. Frankly, a trained actor in front of a cheap camera in the hands of an inexperienced photographer can still make for amazing pictures. Think of it this way: If an amazing singer has a band with the world’s best musicians in a first class studio with a chart-topping producer but they’re recording a crappy song, it’s still going to be a crappy song. Conversely, a singer with little range performing an inspired song into an old microphone with an aging instrument can change a generation. No matter how good the photographer or sophisticated the camera they will only be as good as what they capture. Don’t try to be what you’re not. Use what you’ve been training with that resonates with you personally and as an artist.
If you have a warm-up routine that you go through before a show, a film shoot, an audition, do it before your photo shoot. If you want to do some voice exercises while you’re getting your makeup done, or do some stretching, play an improv game, etc., then just do it. Heck, if it is a shoot with me, I might even join you (if you’d let me). Don’t be concerned with what anyone else in the room thinks. For one thing, if they’re going to judge you or think you’re crazy, you’re in the wrong room to begin with. It’s your shoot. The people in the room ultimately work for you. Want to play some tape ball? Excellent. Bring it.
What other tools can an actor use in a photo shoot? All of them. Any of them. If Stanislavsky or Strasberg is your thing, you can absolutely use objectives, substitutions, and obstacles. Don’t just smile for the sake of smiling. Smile to obtain an objective – to make someone feel good, to make someone feel bad, to find something out, to convince someone of something. Maybe Meisner is your thing. Great. The ‘moment before’ is a fabulous tool to use in a photo shoot. Perhaps Michael Chekhov is what inspires you. Awesome. Atmospheres, psychological gestures, expansion, contraction – all brilliant tools for a photo shoot. Maybe there’s a particular actor who you’ve gleaned a bit of technique from. Excellent. One of my favorite actors, Alec Guiness (Oliver Twist, Star Wars), always played upon keeping a secret in a scene. It’s incredibly powerful, compelling. What’s your secret – then look into the lens.
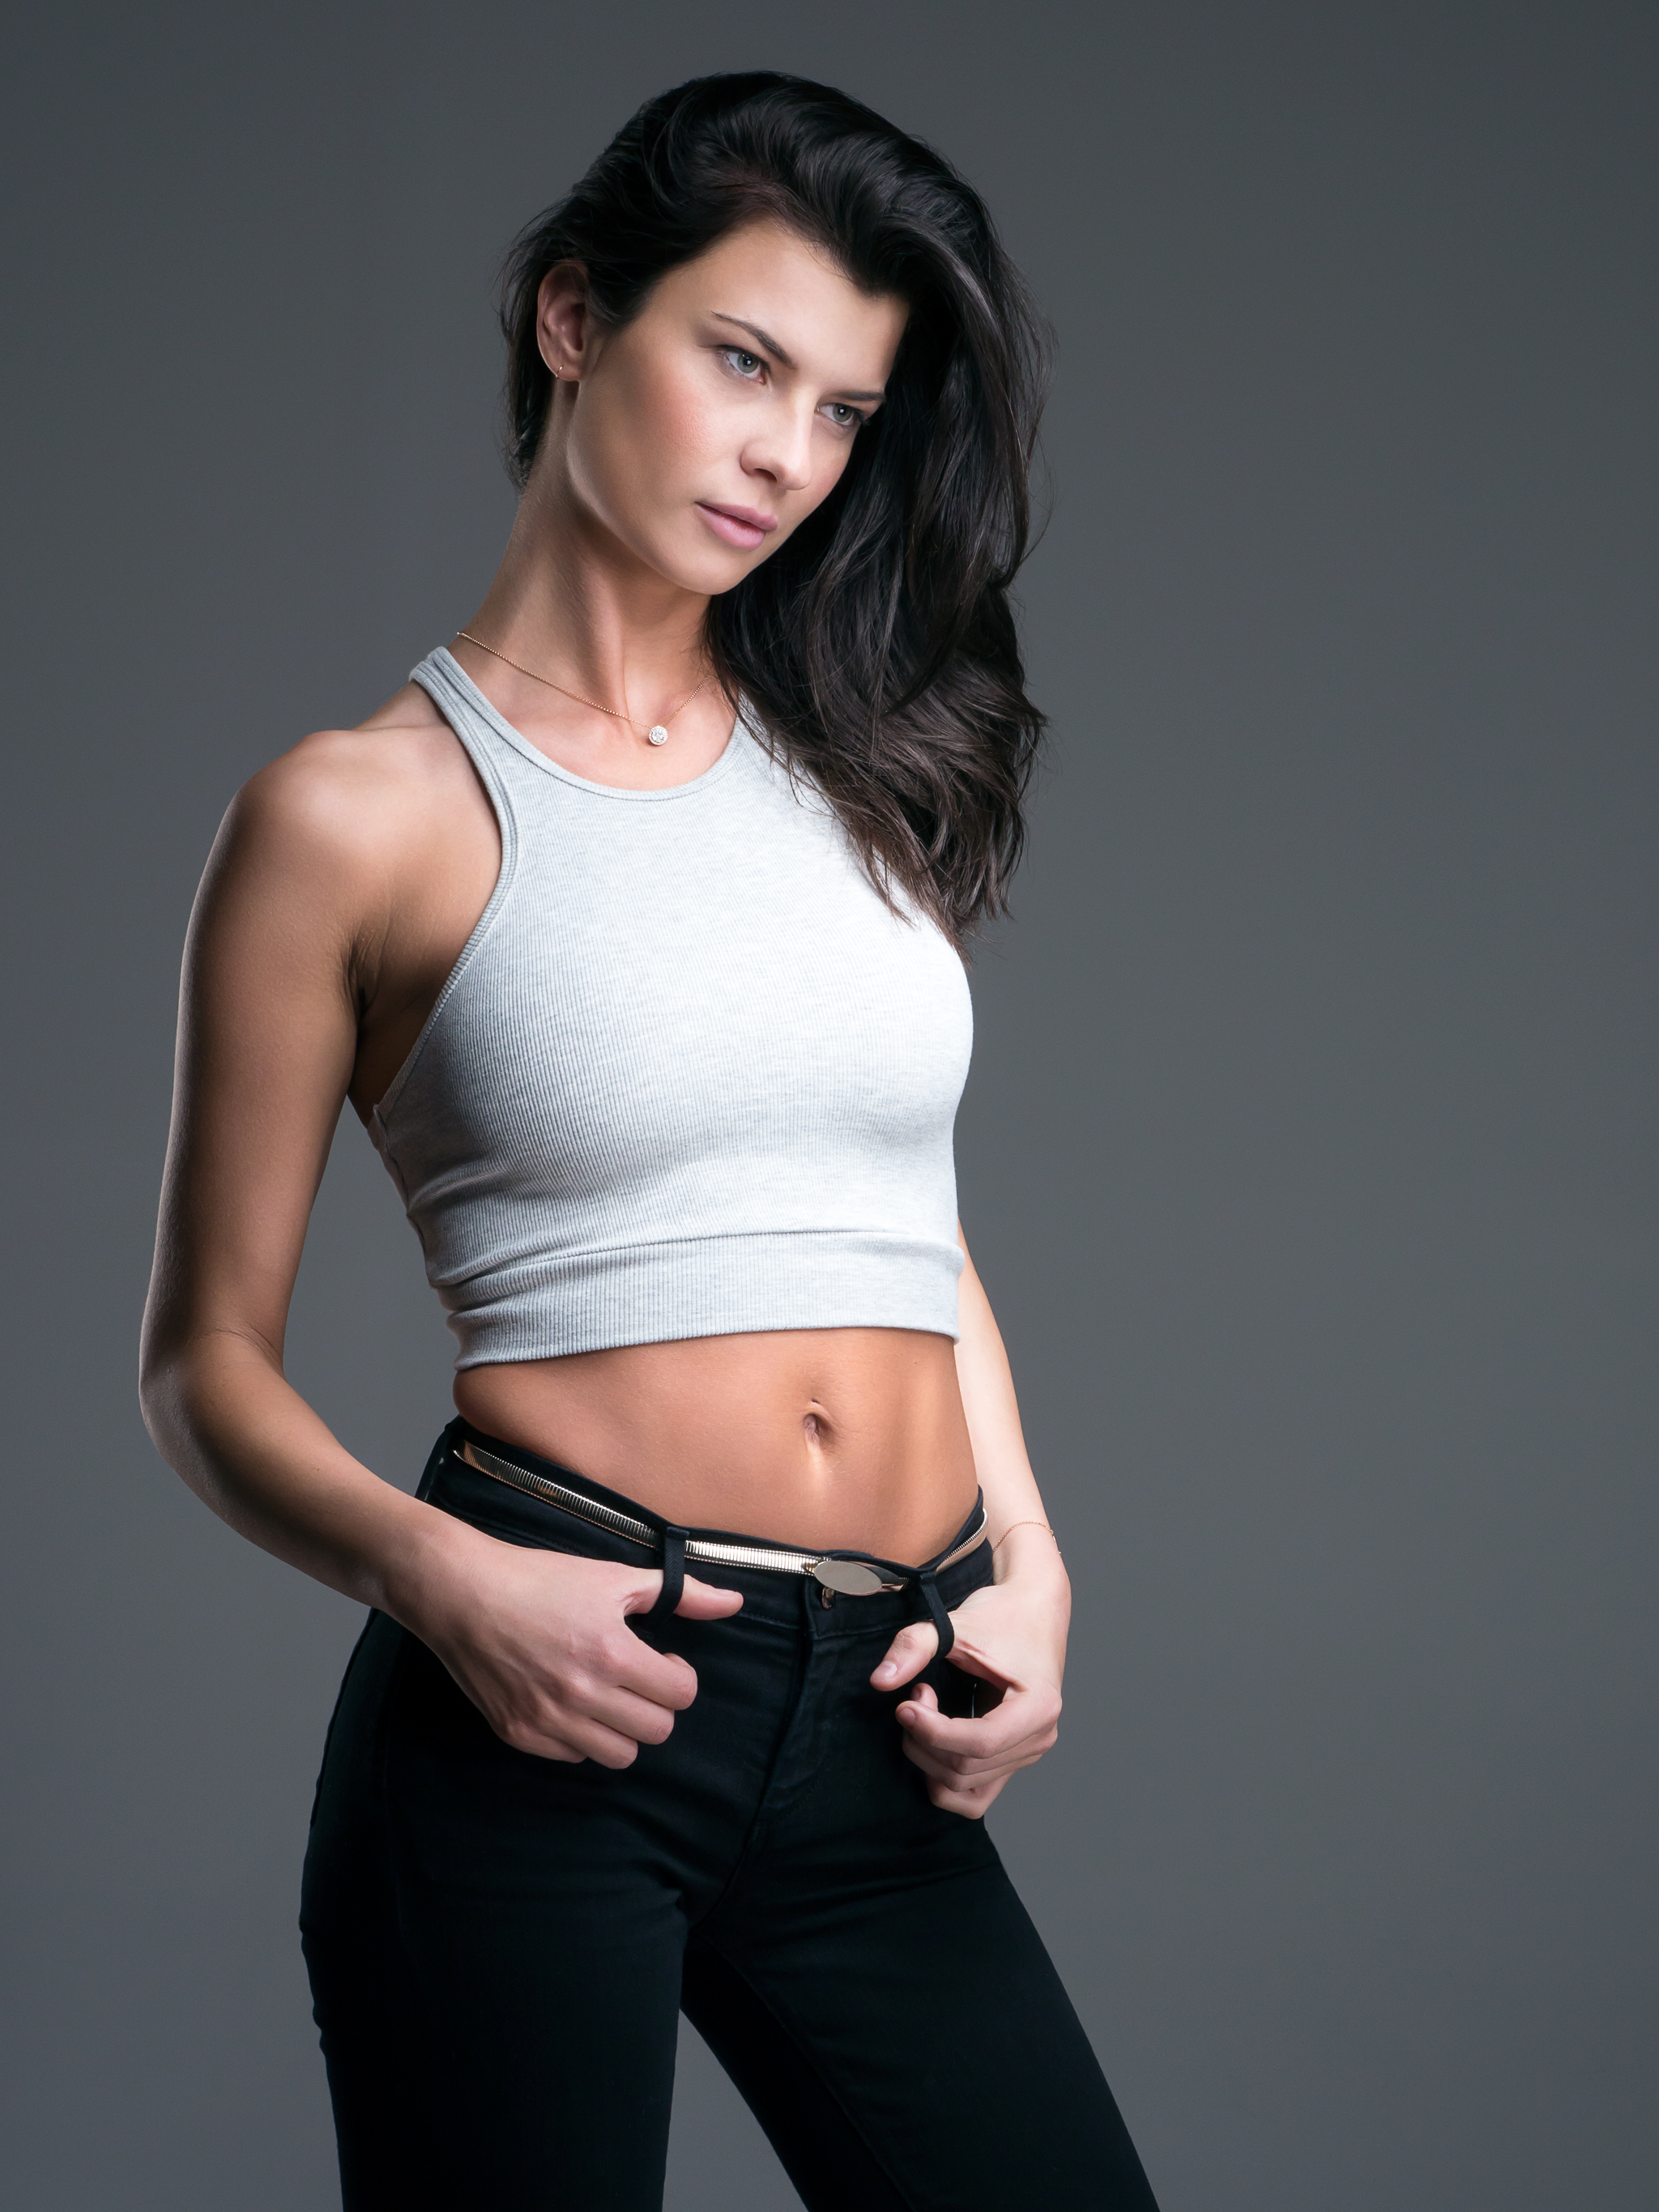
When in doubt – MOVE. “Nothing happens until something moves” – Albert Einstein. Feel stuck in your head in a shoot? Run around (but don’t hurt yourself). Skip. Do jumping jacks. Scream. Flail your arms. Then, find stillness while something inside you burns. I am not suggesting you ham it up, behave uncontrollably, or be silly for silly’s sake. Find a state, an authentic state, and behave through that. If you do, you won’t need to give a thought to posing, raising your chin, lowering your chin, turning your body, etc.. It will all happen naturally. And your pictures will be rockin’.
If still nothing in your bag of tricks seems to be working, just breathe, just focus on your own breath. The simple act of doing nothing but breathing, quieting the inner judgmental voices and just breathing, can not only make for you being remarkably present but also result in fabulous pictures. In fact, that’s how I start working with everyone I photograph. I ask them to just breathe. Wish I could say I thought of it first but I’ve borrowed it from renowned portrait and fashion photographer, Richard Avedon. A portrait I recently took of an actress here in LA that is up for an Exposure Award and is presently on display in the Louvre in Paris, is actually the first frame I took after asking her to just breathe.
I think actors are awesome. Not just because I am one, but I know it takes a lot of courage to be one. It takes a willingness to be vulnerable – publicly, to fail – publicly, to use oneself unselfishly as both canvas and brush. It takes discipline and hard work no one will ever see or most will understand. It requires many personal sacrifices and the grace to be acutely sensitive while also enduring the word ‘no’ far more than ‘yes’. In performance, however, actors get to rule the world, not by being in control of it but by letting go of it – that, captured in a picture, should be the goal.
Bring yourself and your tools as an actor to a photo shoot and not only will you be thrilled with the results you will enjoy just being an actor.
Break legs. Check back next week when I get to the final two biggest mistakes you can avoid to make your pictures work hard for you. In the meantime, if you’ve found this helpful, please ‘Like’ and share via Twitter or whatever social website floats your boat.
Cheers!
Copyright 2015 Christopher Violette
All Rights Reserved